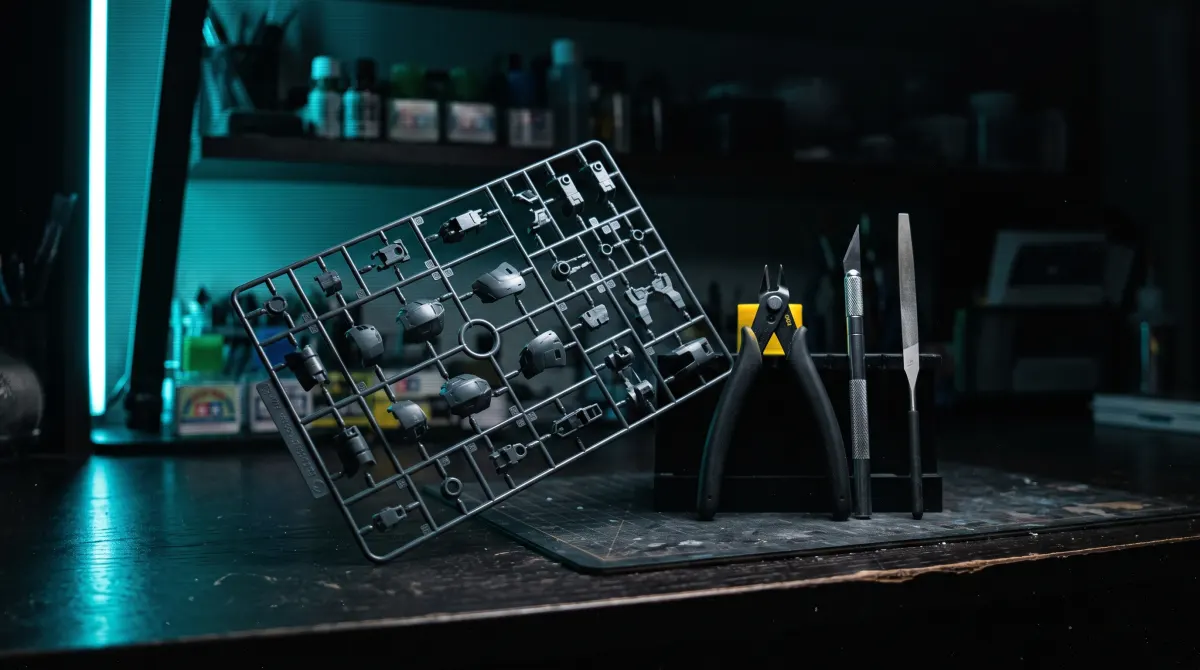
 Guide
GuideGunpla Beginner Tips: 9 Things I Wish I Knew
My first gunpla kit ended up with white stress marks across the chest, a wrist joint so loose the arm drooped, and glue fumes I definitely didn't need because I never touched a tube of cement in the first place. None of that was the kit's fault. It was mine, and it was completely avoidable.
This is the list I wish someone had handed me before I opened that box. Nothing here requires an airbrush or a spray booth. It's about handling the plastic right, reading what's already printed on the runners, and picking a starting grade that won't fight you.
Work through these once and they become muscle memory. Skip them and you'll be sanding out nub marks on your fifth kit the same way you were on your first.
1. Cut nubs in two passes, never one
The single biggest beginner tell on a finished gunpla is a white or grey stub sticking off a shoulder or a foot. That happens when you cut flush against the part in one snip, which stresses the plastic right at the surface and leaves a visible nub or a stress mark that no amount of polishing fully hides.
Do it in two passes instead. First cut about 2 to 3mm away from the part, leaving a small stub still attached. Then go back and trim that stub down close to the surface with a second, gentler cut. Clean up whatever's left with a hobby knife held flat against the part or a sanding stick. It takes maybe five extra seconds per part and it's the difference between a kit that looks assembled and one that looks built.
2. Don't twist parts off the runner
Twisting and pulling a part free instead of cutting it is a fast way to crack or warp thin plastic, and on small pieces like polycaps, V-fins, or armor tabs it can snap them outright. Cut every part free with nippers. If a part is buried behind others on the runner, cut the runner itself into smaller sections first so you can get a clean angle rather than yanking.
3. Dry fit before you commit to anything permanent
Dry fitting just means pushing parts together enough to see how they lock without seating them fully. It matters most if you're planning to panel line, paint, or apply decals later, because parts that are fully clicked in can be brutal to pry back apart without marring the surface.
It also catches problems early. If a polycap looks like it should be symmetrical but only clicks in cleanly one way, or if an inner frame piece isn't fully seated, the outer armor won't close flush. Dry fitting first means you find that out before you've committed glue or paint to the wrong configuration.
4. Go easy on joint strengtheners, if you use them at all
Most HG and RG kits out of the box hold a pose fine without any intervention. If a joint does feel loose after a lot of repositioning, joint strengthening fluid can help, but a thick coat dries unevenly and can over-tighten the joint to the point where it's stiff or won't reassemble cleanly at all. Start with the thinnest coat you can manage. You can always add a second thin coat later. You can't easily undo excess once it's cured.
5. Read the manual instead of pattern matching
Gunpla manuals are genuinely good and they exist for reasons that aren't obvious from the diagram alone. Polycaps that look symmetrical often have a specific orientation. Some parts have a subtly different shape depending on which arm or leg they belong to. Skipping ahead because you've built kits before is exactly how you end up with a hand facing the wrong way three steps later and no easy way back without removing panels you already snapped shut.
6. Keep parts organized by runner and step
Gunpla runners are lettered for a reason, and the manual references those letters constantly. Cutting everything off the runners at once and dumping it into one pile makes a kit with a hundred small grey and white parts nearly impossible to sort through later. Cut only what the current step needs, or at minimum keep parts grouped by runner letter in small trays or the plastic bag the kit shipped in.
7. Start with HG or EG, not MG or PG
High Grade kits at 1/144 scale are the sweet spot for a first build. They're detailed enough to look genuinely good straight out of the box, snap together without cement, and most build in an afternoon. Entry Grade kits are even simpler and cheaper, built around a snap-fit inner frame that skips polycaps almost entirely, which makes them a fair pick if you want the lowest-friction possible starting point.
Master Grade and Perfect Grade kits are more parts, more internal frame work, and a lot more places to make the mistakes above before you've built the habits to avoid them. Save them for after your first few HG builds.
8. A hobby knife earns its keep fast
Nippers get a part off the runner. A hobby knife or a sanding stick is what actually removes what's left of the nub. Shaving flat against the surface with a blade, rather than sanding aggressively, keeps you from taking off more plastic than you meant to and rounding an edge that should stay sharp.
9. Slow down on panel lines and top coat until the build itself feels natural
Panel lining and top coating are genuinely worth learning, but they're separate skills from assembly and layering them onto your very first kit multiplies the number of things that can go wrong at once. Build a kit or two clean first so nub removal and part handling stop requiring conscious thought, then bring in panel lining and top coat on a kit you're less precious about.
Most gunpla beginner mistakes come down to rushing the runner-to-part step and skipping the manual, and both are free to fix on your very next kit.
Common questions
What grade should a complete beginner start with?
HG (High Grade) at 1/144 scale is the standard recommendation, with EG (Entry Grade) as an even simpler and cheaper option if you want the absolute lowest-friction first build.
Do I need cement glue for a beginner gunpla kit?
No. Nearly all modern HG, RG, MG, and EG kits are snap-fit and don't require glue at all. Cement only becomes relevant if you're doing more advanced customization.
Why does my kit have visible white marks where I cut parts off the runner?
That's stress whitening from cutting too close to the part in a single pass. Cut a couple millimeters away first, then trim the remaining nub down in a second pass to avoid it.